

I decided to play with a few of my new Stampin' Up! goodies when creating today's card. I also felt liberated and decided to flip this sketch onto it's side! I'm a rebel I know! What do you think of my twisted sideways approach?

You see... the thing with a sketch, is that you can make whatever you want of it! You can flip it, flop it, omit certain aspects, it's truly up to you. Try it out and see where your creative process takes you! You are bound for success!

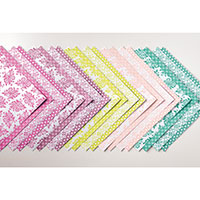
Are you eyeing up those pretty flowers? They are oh so pretty aren't they? In order to create the look you see here I actually dabbled with the stained glass technique. What's that you ask? Well to be honest it's simple! I have summarized the technique into a few easy to follow steps that you can check out below:
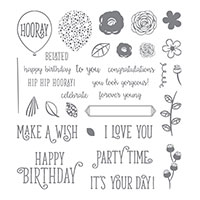
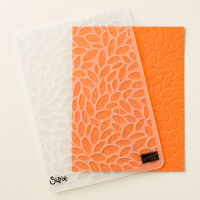
- Take a small piece of vellum and emboss the flowers (these ones are from my new Stampin' Up! Happy Birthday Gorgeous stamp set) using your Basic Black Archival Stampin' Pad and Clear Stampin' Emboss Powder.
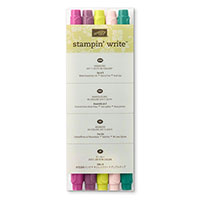
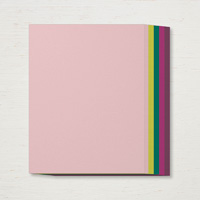
- After embossing, turn the vellum over and colour in the images on the reverse side using Stampin' Write Markers of your choice. A few shades in each colour are ideal. For example, I coloured my flowers in with Sweet Sugarplum, Berry Burst , & Fresh Fig. I then coloured in the leaves with Lemon Lime Twist & Tranquil Tide.
- After shading with your Stampin' Write Markers, you then take your Stampin' Up! Blender Pen and blend your marker shades together.
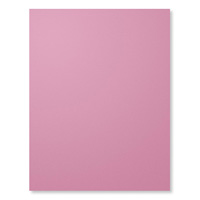
- Once you are finished the above steps you will then mount this piece of vellum on a piece of Whisper White Cardstock. I chose to adhere it along the edges only. This way the adhesive won't be visible.
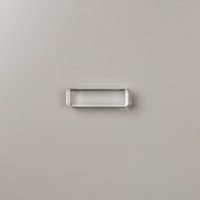
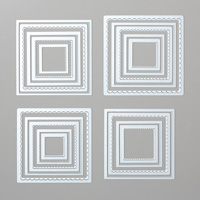
- Lastly create a frame for your masterpiece. I made mine with a piece of Basic Black Cardstock and the Stampin' Up Layering Squares Framelits.
- Finish off the rest of your masterpiece however you choose & voila!
Cheers!
Carolynn 💖


No comments:
Post a Comment